

Have you been wondering how to get started with Swift? As a basic intro, Swift is Apple’s most recent programming language. It builds apps on platforms you’re already familiar with. These include iOS, macOS, watchOS, and tvOS. Swift isn’t that old—it was launched in 2014. It also replaced Objective-C with a faster and more modern way to write code. Today, it’s the go-to programming language for Apple development.
One great thing about Swift is that it’s easy to learn. But it’s also powerful enough to use in professional settings as well. Its clean syntax makes it beginner-friendly. But it also has advanced features like type safety and memory management. These help Swift developers write reliable, high-performance apps.
Let’s go over the basics of Swift and even get into some basic coding. The concepts we’ll explore are the same foundations that any Swift app development company would build upon when creating professional applications. By the end, you’ll be ready to start your first project or understand how to hire a team to help you.
What is the Swift language?
If you’re in the programming world, you’ve heard of Chris Lattner. This professional and his team of Apple developers started working on Swift in 2010.
Their goal was to build a programming language that had the speed of compiled languages, but that was as easy to use as scripting languages. In 2014, the team succeeded. They launched Swift at WWDC in 2014 to make its first appearance. Then, in 2015, this powerful and intuitive language became open-source, and the whole world of programmers could start participating.
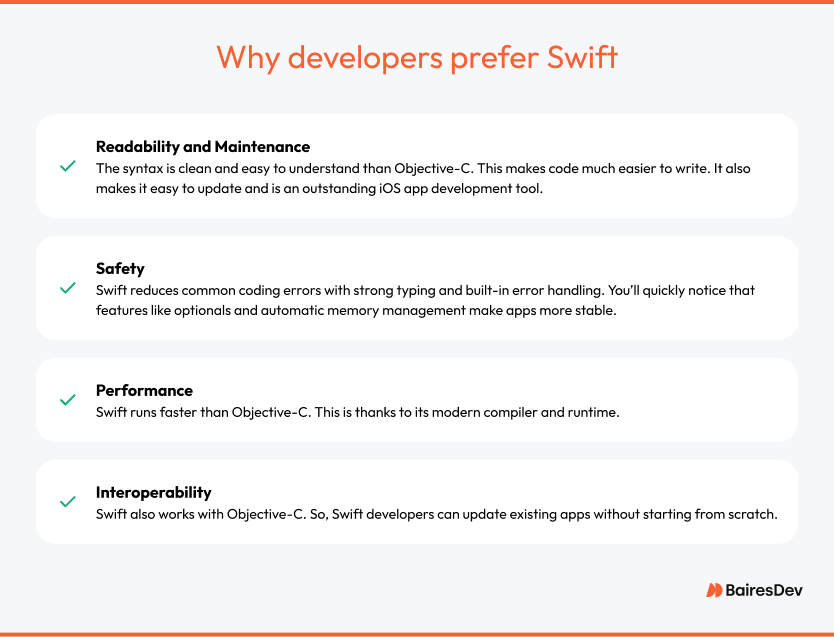
While Objective-C has been Apple’s main open-source programming language since the 1980s, developers prefer Swift for several reasons. Here’s why:
Setting Up Swift Development
To write and run Swift code, you need the right tools. Let’s learn the basics, cover what the right tools are, learn basic syntax, and go over everything you need to learn Swift.
Install Xcode
Xcode is Apple Inc’s official development environment for Swift. It includes everything you need for app development, from a code editor to a debugger.
Follow these steps to install it:
- Open the Mac App Store.
- Search for Xcode.
- Click Get and then Install.
- Once installed, open Xcode and agree to the license agreement.
- Go to Preferences > Locations and ensure the Command Line Tools are set to the latest Xcode version.
Once you have this installed, you’ll be ready to move to the next step with your app development.
Use Swift Playgrounds for Learning
Swift Playgrounds is another tool you’re going to need. It’s an interactive tool for experimenting with Swift code. This is the perfect tool if you’re a beginner. The reason is that it provides real-time feedback without requiring a full project setup.
Here’s what you need to do to install it:
- First, open the Mac App Store.
- Then, search for Swift Playgrounds latest version.
- Click Get and then Install.
- Open it and start coding by creating a new playground.
If you’re using Swift on an iPad, the process is the same. You’ll download it from the App Store and start experimenting.
Swift Package Manager (SPM)
Don’t do anything without looking into SPM. SPM helps you manage dependencies and build Swift projects. It’s built into Swift and works from the command line.
This is where we start getting into the code while using Swift. To check if SPM is installed, open Terminal and run:
1sh
2swift package --version
To create a new Swift package, run:
1sh
2swift package init --type executable
3To build and run your package, use:
4sh
5swift build
6swift run
SPM integrates with Xcode, so you can add packages directly in Xcode > File > Swift Packages > Add Package Dependency.
Using Swift Basics: Core Concepts Every Developer Must Know
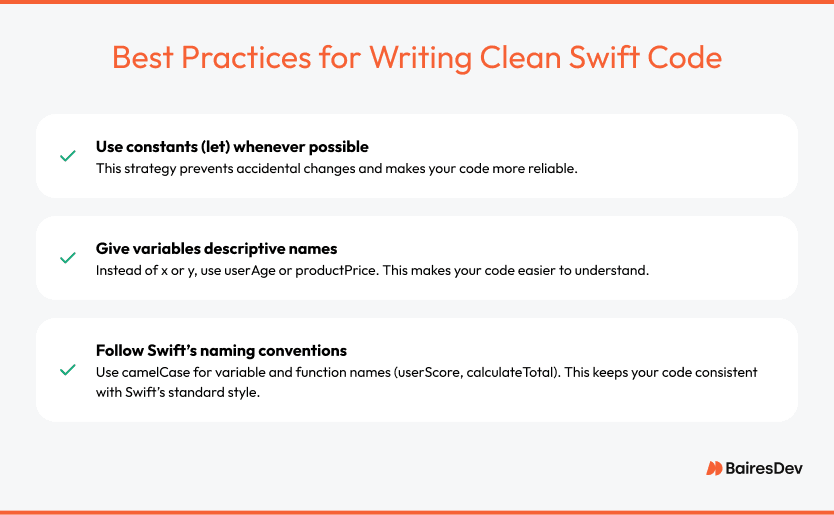
Swift’s designers had three things in mind: clarity, brevity, and safety. Understanding Swift’s core concepts is essential whether you’re new to Swift programming or transitioning from another programming language. Here’s everything you need to get started with the Swift program.
Syntax and Structure
Variables and Constants (var vs. let)
Variables and constants store data in Swift. The difference between them is whether their value can change.
Use var for variables when the value needs to change.
This means you can update the value stored in the variable after it’s assigned.
1swift
2var username = "Alice"
3username = "Bob" // Allowed because it's a variable
Use let for constants when the value should stay the same.
If you declare something as a constant, Swift won’t let you change it later. This prevents accidental changes to important values.
1swift
2let birthYear = 1990
3birthYear = 2000 // Error! birthYear is a constant
Using constants wherever possible makes your code safer and more predictable.
Data Types
Swift is a strongly typed programming language, which means every variable has a specific type. Swift automatically assigns a type based on the value you give, but you can also explicitly define types.
1swift
2var age: Int = 25 // Integer
3let name: String = "Alice" // Text
4var temperature: Double = 36.6 // Decimal number
5var isLoggedIn: Bool = true // Boolean (true/false)
Comments and Best Practices
Comments help explain your code. They don’t affect how the program runs, but they make it easier for you and others to understand what’s happening.
1Use single-line comments for quick explanations:
2swift
3
4// This variable stores the user’s age
5var age = 30
Use multi-line comments for longer explanations:
swift
/*
This function calculates the total price after tax.
It takes the base price and multiplies it by the tax rate.
*/
func calculateTotal(price: Double) -> Double {
return price * 1.08
}
Control Flow
If-Else Statements
Conditional statements let your program make decisions. An if statement checks if a condition is true and runs the corresponding code.
1swift
2let score = 85
3if score >= 90 {
4 print("A grade")
5} else if score >= 80 {
6 print("B grade")
7} else {
8 print("C grade or lower")
9}
Here’s what’s happening:
- The program checks if score is greater than or equal to 90. If true, it prints “A grade”.
- If score isn’t 90 or higher, it checks if it’s at least 80. If true, it prints “B grade”.
- If none of the conditions are met, the program prints “C grade or lower”.
Switch Cases
A switch statement is useful when checking multiple conditions. Instead of writing many if statements, you can organize the logic more cleanly.
1swift
2let day = "Monday"
3switch day {
4case "Monday":
5 print("Start of the week")
6case "Friday":
7 print("Weekend is near")
8default:
9 print("A regular day")
10}
Swift requires switch statements to be exhaustive, meaning all possible cases must be handled. The default case ensures there’s always a response.
Loops (for, while)
Loops help repeat code without writing it multiple times.
A for loop repeats a task a specific number of times:
1swift
2for i in 1...5 {
3 print("Iteration \(i)")
4}
A while loop keeps running as long as a condition is true:
1swift
2var count = 3
3while count > 0 {
4 print("Countdown: \(count)")
5 count -= 1
6}
The loop stops when count reaches 0.
Functions and Closures
Defining and Calling Functions
Functions let you group code into reusable blocks.
1swift
2func greet(name: String) {
3 print("Hello, \(name)!")
4}
5greet(name: "Swift") // Outputs: Hello, Swift!
This function takes a name as an input and prints a greeting.
Parameters and Return Values
Functions can return values instead of just printing them.
1swift
2func add(a: Int, b: Int) -> Int {
3 return a + b
4}
5let sum = add(a: 3, b: 5)
6print(sum) // Outputs 8
The -> Int means the function returns an integer.
Introduction to Closures
Closures are like functions, but they don’t need a name. They’re often used when passing functionality around, like in event handlers or asynchronous tasks.
1swift
2let multiply = { (a: Int, b: Int) -> Int in
3 return a * b
4}
5let result = multiply(4, 5)
6print(result) // Outputs 20
Closures are useful when working with collections, networking, and UI elements.
Optionals and Error Handling
What Are Optionals and Why Are They Important?
Swift prevents errors by not allowing variables to be empty (nil) by default. If a variable might have no value, you must declare it as an optional using ?.
1swift
2var username: String? = nil // Can be a string or nil
If you try to use an optional without handling it properly, your app might crash.
Unwrapping Optionals (if let, guard let)
To safely use an optional, unwrap it.
If Let: This checks if an optional has a value and uses it.
1swift
2var name: String? = "Alice"
3if let unwrappedName = name {
4 print("Hello, \(unwrappedName)!")
5} else {
6 print("No name provided.")
7}
Guard Let: This is similar, but it’s used to exit early if a value is missing.
1swift
2func printUsername(_ name: String?) {
3 guard let name = name else {
4 print("No username available.")
5 return
6 }
7 print("Username: \(name)")
8}
9printUsername(nil) // Outputs: No username available.
Handling Errors with Do-Catch
If something could fail, Swift lets you handle errors instead of crashing.
1swift
2enum FileError: Error {
3 case fileNotFound
4}
5func readFile(filename: String) throws {
6 if filename != "data.txt" {
7 throw FileError.fileNotFound
8 }
9 print("File read successfully")
10}
11do {
12 try readFile(filename: "wrongfile.txt")
13} catch {
14 print("Error: \(error)")
15}
Here’s what happens:
- If filename isn’t “data.txt”, the function throws an error.
- The do block tries to run readFile().
- If an error happens, the catch block runs instead of crashing the program.
Object-Oriented and Protocol-Oriented Swift Programming
Another thing to know is that Swift supports both object-oriented programming (OOP) and protocol-oriented programming (POP).
But what does that mean? OOP organizes code into objects using classes. POP defines behaviors using protocols. But the Swift programing language leans more heavily on POP. This is what makes the Swift programming language different from languages like Java or C++.
Understanding classes, structs, protocols, and extensions is key to writing scalable Swift code. So, let’s briefly cover what they are and what this means.
Classes and Structs: Key Differences and When to Use Each
Both classes and structs allow you to group related data and behavior. However, they work differently in the Swift programming language, so choosing the right one is important.
Key Differences Between Classes and Structs
Here’s a table that shows the features and how they differ between classes and struct.
When to Use Classes vs. Structs
As a general rule, you can use structs when:
- You need a lightweight object that won’t change often.
- The data should be copied instead of shared.
- You’re working with simple data models like points, sizes, colors, or user settings.
1swift
2t
3struct User {
4 let name: String
5 var age: Int
6}
7var user1 = User(name: "Alice", age: 25)
8var user2 = user1 // Creates a copy
9user2.age = 30
10print(user1.age) // Still 25 (original struct unchanged)
And then you can use classes when:
- You need objects that should be shared across different parts of your app.
- You want to use inheritance to create related objects.
- The object will have a lifecycle (e.g., an open database connection).
1swift
2t
3class User {
4 var name: String
5 var age: Int
6 init(name: String, age: Int) {
7self.name = name
8 self.age = age
9 }
10}
11var user1 = User(name: "Alice", age: 25)
12var user2 = user1 // Both variables refer to the same object
13user2.age = 30
14print(user1.age) // Now 30 (user1 and user2 are the same object)
Since classes are reference types, changing one instance affects all variables pointing to it.
Protocols: Defining and Adopting Protocols
What Is a Protocol?
A protocol defines a set of rules that a type must follow. Think of it as a blueprint for methods and properties.
Here are the main reasons you would want to use a Protocol:
- They allow code reuse across different types.
- They support protocol-oriented programming instead of class inheritance.
- They make code more flexible by separating what a type does from how it does it.
Defining a Protocol
A protocol specifies required properties and methods but doesn’t provide implementations.
1swift
2t
3protocol Identifiable {
4 var id: String { get } // Any type that conforms must have an 'id' property
5}
The { get } means the property must be readable. You can also require properties to be writable with { get set }.
1swift
2t
3protocol Account {
4 var balance: Double { get set } // Can be read and modified
5 func deposit(amount: Double)
6}
Adopting a Protocol
A struct, class, or enum adopts a protocol by implementing all required properties and methods.
1swift
2t
3struct User: Identifiable {
4 var id: String
5}
6let user = User(id: "12345")
7print(user.id) // Outputs: 12345
A class can also conform to multiple protocols.
1swift
2t
3protocol Driveable {
4 func startEngine()
5}
6protocol Fuelable {
7 func refuel()
8}
9class Car: Driveable, Fuelable {
10 func startEngine() {
11 print("Engine started")
12 }
13 func refuel() {
14 print("Car refueled")
15 }
16}
17let myCar = Car()
18myCar.startEngine() // Outputs: Engine started
Protocols allow multiple inheritance, unlike classes, which can only inherit from one superclass.
Protocol Extensions
Protocols can be extended to provide default implementations. This means types adopting the protocol don’t have to implement everything themselves.
1swift
2t
3protocol Greetable {
4 func greet()
5}
6extension Greetable {
7 func greet() {
8 print("Hello!")
9 }
10}
11struct Person: Greetable {}
12let john = Person()
13john.greet() // Outputs: Hello!
Since Person adopts Greetable, it automatically gets the greet() method from the extension.
Extensions: How to Extend Swift’s Functionality
What Are Extensions?
Extensions let you add new functionality to existing classes, structs, enums, or protocols without modifying the original code.
Why Use Extensions?
- They keep code organized by adding functionality separately.
- They allow Swift’s built-in types (like String or Int) to gain new methods.
- They enable protocol extensions to provide shared behavior.
Adding Methods with Extensions
Here’s how to extend an existing type with a new method:
1swift
2t
3extension Int {
4 func squared() -> Int {
5 return self * self
6 }
7}
8let number = 5
9print(number.squared()) // Outputs: 25
Now, all Int values have a squared() method, even though Swift’s standard library didn’t include it.
Extending Protocols
You can also extend a protocol to provide default functionality to all conforming types.
1swift
2t
3protocol Summable {
4 func add(to value: Int) -> Int
5}
6extension Summable {
7 func add(to value: Int) -> Int {
8 return value + 10
9 }
10}
11struct Number: Summable {}
12let num = Number()
13print(num.add(to: 5)) // Outputs: 15
Since Number adopts Summable, it gets the add(to:) method automatically.
When to Use Extensions, Classes, Structs, and Protocols
- Use structs for simple data models (e.g., User, Product, Settings).
- Use classes when objects need to share data (e.g., network connections, database models).
- Use protocols to define behavior that multiple types can adopt (e.g., Identifiable, Drivable).
- Use extensions to add functionality to existing types without modifying them directly.
Swift encourages protocol-oriented programming, making code more modular, reusable, and easier to test.
Getting Started with Swift
The Swift language is beginner-friendly with a clean syntax, strong safety features, and high performance. It’s a great choice for building iOS, macOS, watchOS, and tvOS apps.
New developers can start coding with Swift Playgrounds for hands-on learning or get into full projects with Xcode. Swift’s simplicity makes it easy to pick up, while its power allows for building complex, high-quality apps.


